How to Prep Walls for Painting in Cold Weather
How to Prep Walls for Painting in Cold Weather
How to Prep Walls for Painting in Cold Weather
A fresh coat of paint is one of the quickest ways to banish the mid-winter blues and transform a room. With the social calendar slowing down and more time spent indoors, January and February seem like the perfect time to tackle that interior painting project you've been putting off. And in many ways, they are. The dry winter air can even help paint cure faster.
However, painting during a Pittsburgh winter is not the same as painting in July. The cold temperatures, dry air, and drafty conditions of our local climate present a unique set of challenges. If you skip the right preparation steps, you risk a paint job that cracks, peels, or never quite cures, wasting your time and money.
The secret to a flawless, long-lasting finish lies not in the final coat of color, but in the meticulous prep work done beforehand. This is where professional results are made. This guide will walk you through the essential steps for preparing your walls for painting in cold weather, ensuring your project is a success from the first roll to the final brushstroke.
The Cold Weather Challenge: Why Winter Prep is Different
Before you pick up a scraper or a tube of caulk, you need to understand the environmental factors you are up against. In a Pittsburgh winter, your walls are not a neutral canvas.
1. The Surface Temperature Problem
This is the biggest hurdle. While you might crank your thermostat to a comfortable 70°F, the surface of your exterior walls—especially in older Pittsburgh homes with brick exteriors and minimal insulation—can be much colder. If a wall's surface temperature is below 50°F, the paint's chemical curing process can slow down or stop entirely. The paint might dry, but it won't harden properly, leaving it soft and susceptible to damage.
2. The Dry Air Dilemma
Your furnace runs constantly in winter, creating an extremely dry environment inside your home. This low humidity has two effects:
Good: It helps the water in latex paint evaporate quickly.
Bad: It can cause the paint to dry too fast, leading to brush marks and lap lines. It also makes prep materials like caulk and spackle shrink and crack as they dry.
3. The Draft Factor
Older Pittsburgh homes are charming but often drafty. Cold air leaking in from window sashes, baseboards, and electrical outlets can create cold spots on your walls. Painting over these areas can lead to "flashing" (uneven sheen) or improper adhesion as the cold air shocks the wet paint.
Proper winter preparation is all about controlling these three variables: temperature, humidity, and airflow.
Step 1: Create a Stable Environment
Before you even think about touching the walls, you need to prep the room itself.
Heat the Walls, Not Just the Air
Your goal is to get the wall surface temperature above 50°F, ideally between 60°F and 70°F.
Action: Turn your thermostat up to at least 70°F for a full 24 hours before you start working. This gives dense materials like plaster time to absorb the heat and warm up.
Pro Tip: Use an inexpensive infrared thermometer to check the surface temperature of your exterior walls. If a corner is reading 48°F, aim a space heater at that area for an hour (from a safe distance) to bring it up to temp before you apply any repair compounds or primer.
Control the Humidity
While dry air helps with the final paint cure, it's an enemy during prep.
Action: If you have a whole-house humidifier, ensure it's working. If not, consider running a small room humidifier for a day before you start spackling or caulking. This will help these materials dry more slowly and evenly, preventing cracks.
Banish the Drafts
Action: Before you begin, run your hand along window frames, baseboards, and around outlets. If you feel cold air, you need to address it. Use temporary measures like placing painter's tape over the gaps in old window sashes to stop the draft while you work.
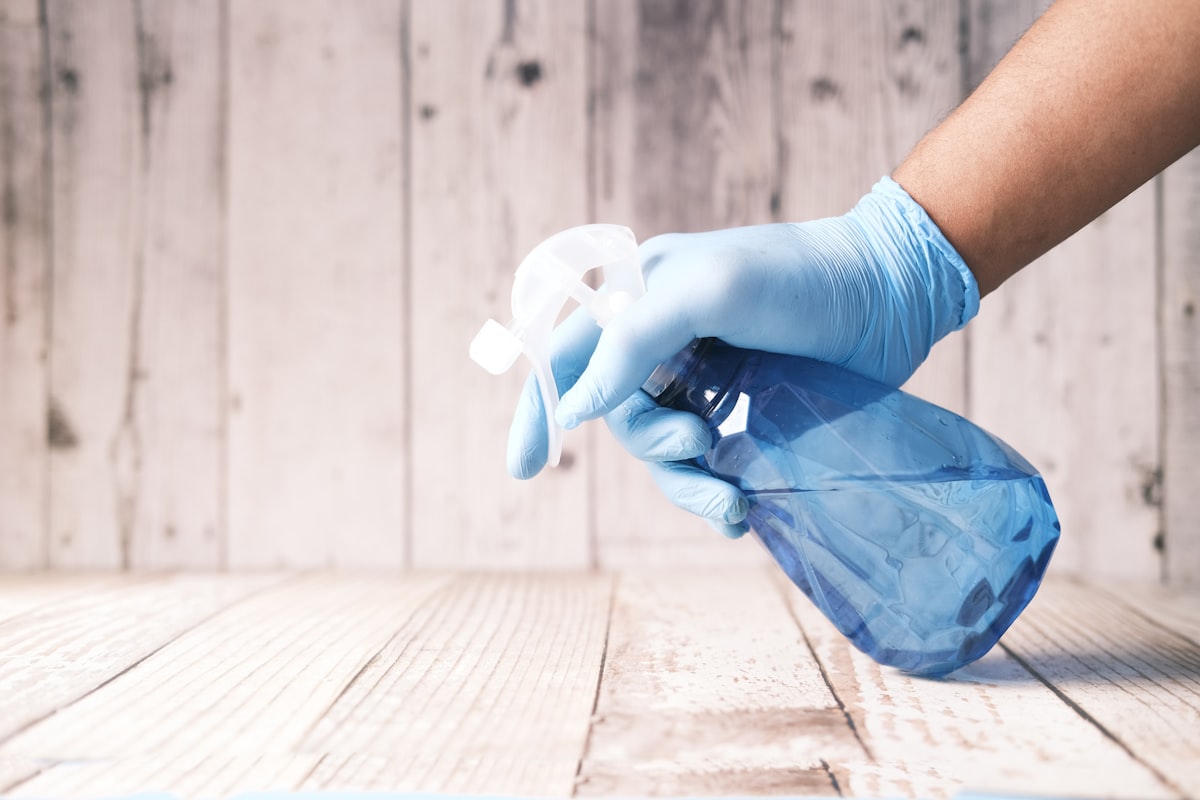
Step 2: The Deep Clean
You cannot paint over dirt, grease, or soot. Paint needs a clean, stable surface to bond to. In winter, when we are cooped up, our walls accumulate a surprising amount of grime.
Why Winter Cleaning is Critical
Homes with forced-air heating systems (common in Pittsburgh) circulate dust constantly. If you have gas appliances or burn candles, you may have a thin layer of soot on your upper walls and ceilings that is invisible to the naked eye.
The Cleaning Method
Dust First: Use a vacuum with a brush attachment to vacuum the walls, ceiling, and especially the corners and baseboards.
Wash Second: Mix a solution of TSP (Trisodium Phosphate) substitute or a simple solution of warm water with a few drops of dish soap.
The Technique: Use a large sponge. Start from the bottom of the wall and work your way up. This prevents "clean streaks" from running down the wall. Gently wipe the surface—you don't need to scrub hard.
Rinse and Dry: Go over the wall again with a sponge and clean water to remove any soap residue. Let the walls dry completely, which should only take an hour or two in the dry winter air.
Step 3: Repairing Imperfections
Now that the walls are clean, every crack, hole, and dent will be visible. Repairing these correctly is key to a smooth final finish.
Choosing Your Filler
The dry winter air will suck the moisture out of repair compounds quickly. Choosing the right product is essential to prevent cracking.
For Small Nail Holes: Use a lightweight spackling compound. Apply a small amount, and it will be dry enough to sand in under 30 minutes.
For Cracks in Plaster: Do not use standard spackle. Old plaster walls expand and contract with seasonal humidity changes. A hard spackle will crack and pop out. Use an elastomeric patching compound. This product remains flexible after it dries, allowing it to move with the wall.
For Large Holes: You will need a drywall patch. For winter repairs, use a "hot mud" or setting-type joint compound that cures chemically rather than through evaporation. It sets up faster and is less prone to shrinking and cracking in dry air.

The Caulking Strategy
Caulk is the magic wand that creates seamless transitions between walls and trim.
The Problem: Cold caulk is stiff and hard to apply smoothly.
The Solution: Before you start, place your tube of caulk in a bucket of warm water for 10-15 minutes. This softens the material, allowing it to flow evenly for a perfect bead.
The Product: Use a high-quality, paintable acrylic latex caulk.
Step 4: Sanding and Priming
Once all repairs are dry, it's time to smooth the surface and apply the crucial first coat: primer.
Sanding for a Flawless Finish
Use a fine-grit sandpaper (180 or 220 grit) to lightly sand all your patched areas until they are perfectly smooth with the surrounding wall.
Dust Control: Winter means closed windows, so dust management is paramount. Use a shop vacuum with a hose held next to your sanding block to capture the majority of the dust as you work. Always wear a dust mask.
Pro Tip: After sanding, wipe the walls down with a damp microfiber cloth or a tack cloth to remove every last particle of dust. If you paint over dust, you will get a gritty, rough finish.
Why Primer is Non-Negotiable in Winter
Primer does three critical things, all of which are even more important in cold weather:
Seals Patches: It seals the porous spackle and joint compound, preventing the final paint from soaking in and looking dull (a phenomenon called "flashing").
Ensures Adhesion: It creates a uniform surface that the topcoat can grip onto securely. This is vital when temperature fluctuations can put stress on the paint film.
Blocks Stains: If you have water stains or are painting over a dark color, a stain-blocking primer is essential.
Choosing the Right Primer
For General Use: A good quality latex (water-based) primer/sealer is perfect for most situations.
For Stains or Wood Trim: If you are painting over old wood trim that might have varnish or tannins that can bleed through, you must use an oil-based or shellac-based stain-blocking primer. The dry winter air can actually pull tannins through latex paint, so don't take the risk.
Tint Your Primer: Ask the paint store to tint your primer with a small amount of your final color. This gives your topcoat a head start, improving its coverage and often allowing you to get away with one fewer coat of expensive finish paint.
Step 5: Taping and Protecting
With the walls prepped, the final step before opening the paint can is to protect the rest of the room.
Taping Techniques
Choose the Right Tape: Use a high-quality painter's tape like FrogTape or 3M Blue. Cheap tape can either pull paint off the trim or leave a sticky residue.
The Seal: After applying the tape to your baseboards and window frames, run a putty knife or a credit card along the edge to seal it firmly. This prevents paint from bleeding underneath.
The Draft Blocker: In a drafty Pittsburgh winter, your painter's tape can do double duty. Use it to seal the gaps between window sashes and frames to temporarily stop cold air from blowing on your wet paint.
Protecting Your Floors
Your original hardwood floors are vulnerable in winter. The dry air can make them brittle.
Use Canvas, Not Plastic: Thin plastic drop cloths are slippery and can trap moisture underneath. Use heavy canvas drop cloths. They are absorbent, stay in place, and offer better protection against dropped tools or paint cans.
The Final Pre-Paint Checklist
Before you dip your brush, run through this quick winter-specific checklist:
Is the room temperature above 65°F and has it been for 24 hours?
Have I checked the exterior wall surface temperature with a thermometer?
Have I washed the walls and allowed them to dry completely?
Are all cracks and holes repaired with the appropriate compound?
Have I sanded all repairs smooth and wiped away the dust?
Have I applied the correct type of primer to seal stains and new patches?
Is all trim, flooring, and furniture properly taped and covered?
Conclusion: Prep is the Project
It's tempting to rush through the prep work. It's the least glamorous part of painting. But in the challenging conditions of a Pittsburgh winter, preparation isn't just part of the project—it is the project.
By taking the time to properly clean, repair, and prime your walls with professional interior painting services, you are creating a stable foundation for your paint to perform at its best. You are ensuring that the beautiful color you've chosen will adhere properly, cure fully, and look flawless for years to come. The effort you put into preparation is the best insurance policy against the frustration of a failed paint job, guaranteeing a result that will bring you joy long after the winter snow has melted.