January Interior Painting Tips for Pittsburgh's Older Homes
January Interior Painting Tips for Pittsburgh's Older Homes
January Interior Painting Tips for Pittsburgh's Older Homes
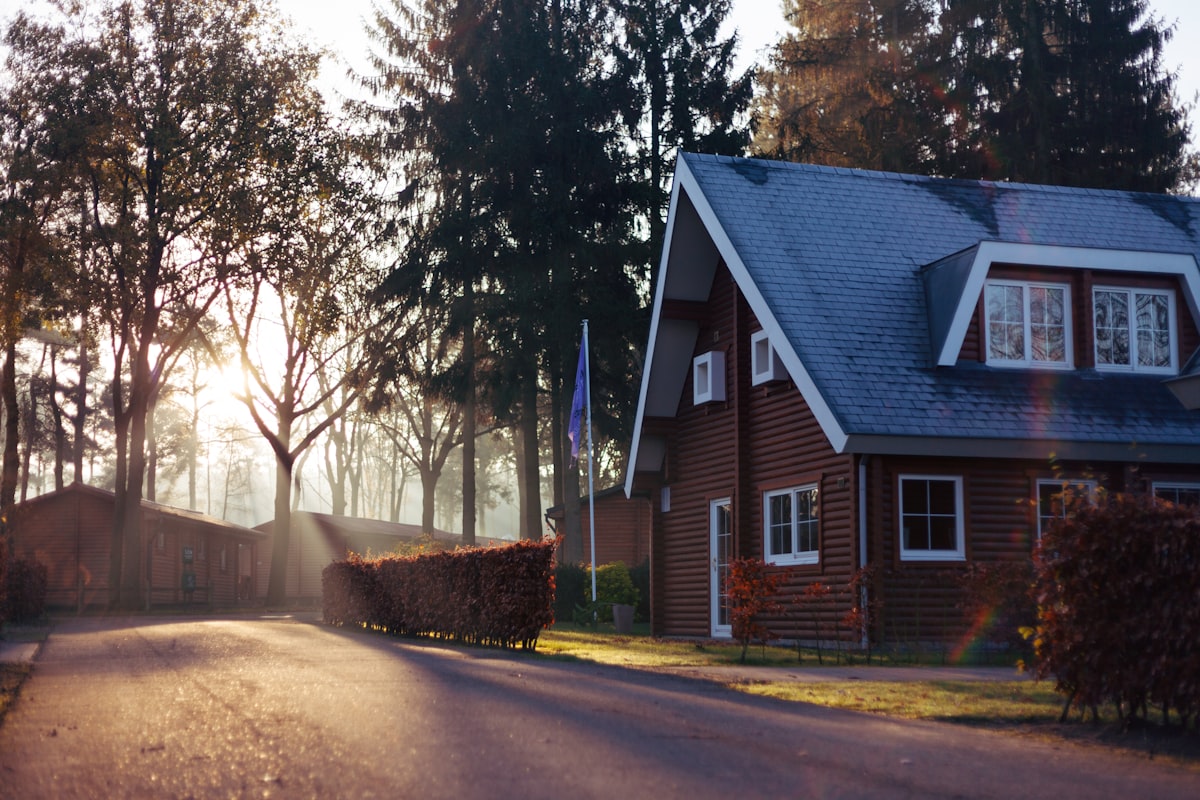
There is a distinct romance to living in an older Pittsburgh home. Whether it's a red-brick Victorian in Allegheny West, a sturdy Craftsman in Squirrel Hill, or a classic American Foursquare in Brookline, these houses have soul. They feature high ceilings, thick plaster walls, and intricate woodwork that you simply don't find in new construction.
But anyone who owns one of these historic gems knows the flip side of the coin: maintenance is a different beast. And when you decide to tackle an interior painting project in the dead of winter, the quirks of an older home—drafty windows, uneven heating, and temperamental plaster—can quickly turn a simple refresh into a complex challenge.
January is actually a fantastic time to paint these interiors. The dry winter air helps paint cure harder and faster, and revitalizing a room is the perfect way to beat the post-holiday gloom. However, painting a 100-year-old house in 20-degree weather requires a specific strategy. You can't just slap latex on a wall and hope for the best.
This guide is tailored specifically for the owners of Pittsburgh's historic housing stock. We will walk you through the unique obstacles older homes present in winter and provide professional solutions to ensure your January paint job honors the character of your home while delivering a modern, durable finish.
The Plaster Factor: Painting Walls That Breathe
The most significant difference between a new Ryan Home in the suburbs and a 1920s row house in Lawrenceville is what's under the paint. Most pre-1950s Pittsburgh homes have walls made of lath and plaster, not drywall. Plaster is harder, denser, and soundproof, but it behaves differently in winter.
The Thermal Mass Challenge
Plaster is essentially masonry. It has high thermal mass, meaning it holds temperature. In January, if your exterior walls are uninsulated brick (common in Pittsburgh), the plaster on the inside can be surprisingly cold, even if the air in the room feels warm.
The Risk: If you paint a plaster wall that is 55°F when the air is 70°F, the paint may thicken and drag on the brush. Worse, it might not bond properly because the cold surface shocks the binders in the paint.
The Fix: You need to heat the walls, not just the air. Bump your thermostat up to 72°F at least 24 hours before you start painting. This gives the dense plaster time to absorb the heat. If you have a particularly cold exterior wall, aim a space heater at it (from a safe distance) for an hour before painting to bring the surface temperature up.
Dealing with Calcimine
Many older Pittsburgh ceilings and upper walls were originally painted with calcimine (a chalky, water-based wash). If you try to paint modern latex over old calcimine, it will peel off in sheets. This risk is higher in winter because the dry air causes the new paint to shrink as it dries, pulling on the weak calcimine layer.
The Test: Rub a dark, damp cloth on the surface. If chalky white residue comes off easily, it's calcimine.
The Solution: You must use an oil-based primer or a specialty calcimine recoater primer. Do not skip this step. The dry winter air puts extra tension on the paint film, so adhesion is critical.
Plaster "Winter Crack" Repair
Plaster walls move. In January, when humidity drops, wood framing shrinks, often causing hairline cracks in the plaster.
Don't Use Standard Spackle: Regular drywall spackle is too hard and brittle for plaster. It will pop out when the house expands again in summer.
Use a Flexible Patch: Use an elastomeric patch or a high-quality glazing putty. These products have a little "give," allowing them to expand and contract with the Pittsburgh seasons without cracking the new paint.
Battling the Drafts: Window and Baseboard Prep
Pittsburgh's older homes are notorious for being drafty. Those original single-pane sash windows might look beautiful, but in January, they leak freezing air. This cold air is the enemy of a smooth paint finish.
The "Flash Freezing" Risk
If a stream of 15-degree air hits wet paint near a window sill or baseboard, it can freeze the water in the paint before it evaporates. This ruins the paint film, leading to cracking or a powdery finish that rubs off.
Strategic Taping
In a modern home, blue painter's tape is just for keeping straight lines. In an older home in winter, it's a draft blocker.
Seal the Gaps: Before you paint the trim, use wider tape (1.5 or 2 inches) to completely seal the gap between the window sash and the frame. This stops the draft temporarily while you paint the casing.
Caulk First: If you feel a draft coming from the gap between the trim and the plaster, caulk it before painting. Use a high-quality, paintable acrylic latex caulk. Not only does this stop the draft, but it also creates a seamless transition that makes the paint job look professional. In winter, warm the caulk tube in a bucket of warm water before applying so it flows smoothly.
Managing Moisture in Brick Homes
Many of our local neighborhoods—think Shadyside, Deutschtown, or the South Side Slopes—are dominated by brick construction. Brick is porous. In winter, it absorbs moisture from snow and rain. If the interior plaster is applied directly to the brick (without a vapor barrier), that moisture drive can affect your paint.
The Efflorescence Warning
If you see white, salty powder on your interior plaster walls, that is efflorescence. It means moisture is moving through the brick and evaporating into your home, leaving salt deposits behind.
Do Not Paint Over It: If you paint over efflorescence in January, the paint will bubble and peel within weeks.

The Prep: Scrape off the powder, wash the area with a mild acid solution (like vinegar and water), and let it dry completely. You must use a masonry-safe alkali-resistant primer before applying your topcoat.
Humidity Control
Because older brick homes "breathe," they can get extremely dry in winter when the furnace is running. Plaster sucks moisture out of wet paint instantly.
Condition the Paint: As discussed in other guides, use a paint conditioner like Floetrol. This is doubly important for plaster walls in January. It slows down the drying process, preventing the plaster from wicking the moisture out of the paint too fast, which causes brush marks and lap lines.
The Aesthetic Strategy: Choosing Finishes for Imperfect Walls
Let's be honest: the walls in a 1910 home are not flat. They have undulations, patches, and texture. In the low, angled light of a Pittsburgh winter, shiny paint acts like a magnifying glass for these imperfections.
The Case for Matte and Flat
While you might want the washability of a satin finish, putting high-sheen paint on old plaster walls is usually a mistake. The reflection will highlight every wave and bump.
Go Low Sheen: Stick to Matte or Flat finishes for the walls. Modern washable mattes (like Sherwin-Williams Duration or Benjamin Moore Aura) offer the durability of an eggshell finish without the shine. This hides the age of the walls and gives the room a rich, velvety look that feels appropriate for the architecture.
Trim: The Exception
While walls should be matte, older homes have incredible trim—tall baseboards, crown molding, and picture rails.
Highlight the Craftsmanship: Use a Semi-Gloss or Satin on the woodwork. The contrast between the flat walls and the shiny trim makes the architectural details pop, even on a gray January day.
Painting Radiators and Pipes
If your older home relies on steam or hot water heat, you likely have cast-iron radiators standing guard under the windows. Painting these is a common January project, but it requires caution.
Turn Them Off
You cannot paint a hot radiator. The paint will bake instantly, smell terrible, and likely bubble.
Timing: You need to turn the radiator off long enough for it to cool to room temperature. In January, this might mean turning the system down for a few hours in the middle of the day.
The Right Paint: You do not need high-heat automotive paint for home radiators (unless they are steam radiators that get exceptionally hot, but standard interior radiators usually stay under 200°F). A high-quality interior enamel works fine. However, oil-based enamels can yellow over time due to the heat. A premium waterborne alkyd is the best choice for staying white and resisting heat damage.
Painting Around Pipes
Old homes often have exposed heating pipes running floor to ceiling.
The "Burrito" Method: If you can't get a brush behind a pipe that is close to the wall, wrap a rag around the pipe to protect it while you paint the wall. Or, use a "radiator roller" (a long, thin mini-roller) to slide behind it.
Lighting and Color in Historic Interiors
Older homes often have smaller windows or different orientations than modern open-concept houses. In a Pittsburgh January, natural light is scarce.
Respect the Shadows
Historic rooms were designed to be cozy. Instead of fighting the darkness with stark bright white (which can look gray and shadowy in dim corners), embrace warmer, deeper tones.
Moody Colors: Dark blues, forest greens, or rich terracottas look stunning on plaster walls. They wrap the room in warmth and make the lack of light feel intentional and cozy rather than depressing.
Warm Neutrals: If you want light walls, choose creams, beiges, or "greiges" with warm undertones. These colors work with the incandescent or soft-white LED lighting typically found in vintage fixtures.
Preparation Checklist for the Pittsburgh Antique
Before you dip your brush, run through this checklist specific to older homes in winter:
Lead Test: If your house was built before 1978 (which is most of Pittsburgh), assume there is lead paint under the old layers. Do not sand aggressively. Use a wet sanding sponge to avoid creating dust, or use a chemical deglosser to prepare the trim without abrasion.
Clean the Soot: Older homes with radiators or fireplaces often have years of invisible soot on the upper walls. Wash the walls with TSP (Trisodium Phosphate) or a substitute before painting. Paint will not stick to soot.
Protect the Floors: Your home likely has original hardwood floors that are susceptible to winter dryness. Do not use cheap plastic drop cloths that slip. Use heavy canvas runners. They protect the floor from spills and provide a safer footing.
Check the Varnish: Old wood trim was often varnished. If you are painting over stained wood for the first time, you cannot use latex primer. The tannins will bleed through, especially in the dry winter air which pulls moisture through the paint. You must use an oil-based stain-blocking primer first.
Conclusion: Honoring the Past with a Fresh Coat
Painting an older home in Pittsburgh is about more than just changing a color; it's about stewardship. You are adding another layer to the history of the house. While the winter months throw a few curveballs—from cold plaster to drafty sashes—these challenges are easily managed with the right preparation.
The result is worth it. There is nothing quite like sitting in a freshly painted, warm living room in Highland Park or Shadyside, watching the snow fall outside, knowing that your historic home is ready for another century of life. By respecting the materials and the season, you can achieve a finish that is as durable as the house itself.